FREE DELIVERY
Within the UK Mainland

3 YEARS WARRANTY
Long-termprotection

30 DAYS RETURN
It's ok to change your mind

SAVE MORE
Reduce your expenses
more about
Glass and Mirror Panels
Made from high-quality safety glass, combining beautiful design and efficiency together. This makes our Glass Panels a perfect addition to your home or your commercial property by adding a minimalist and modern aesthetic to your interior.
This sleek frameless panel blends in perfectly into your bathroom, bedrooms, hallways, and offices adding luxury and saving space at the same time.
Available in three different colours and three different outputs, you can install it horizontally or vertically, you are sure to find something that suits your needs

GREAT FOR COMERCIAL USE
Infrared Panels are the most cost effective way to heat the interior of a restaurant, office, shop or even your industrial space.
The energy efficiency rating is A+ so it has a very low energy consumption. This is because the heat warms up the furniture/objects and then bounces off to heat up something else within the room saving you up to 60% on your total monthly bills.
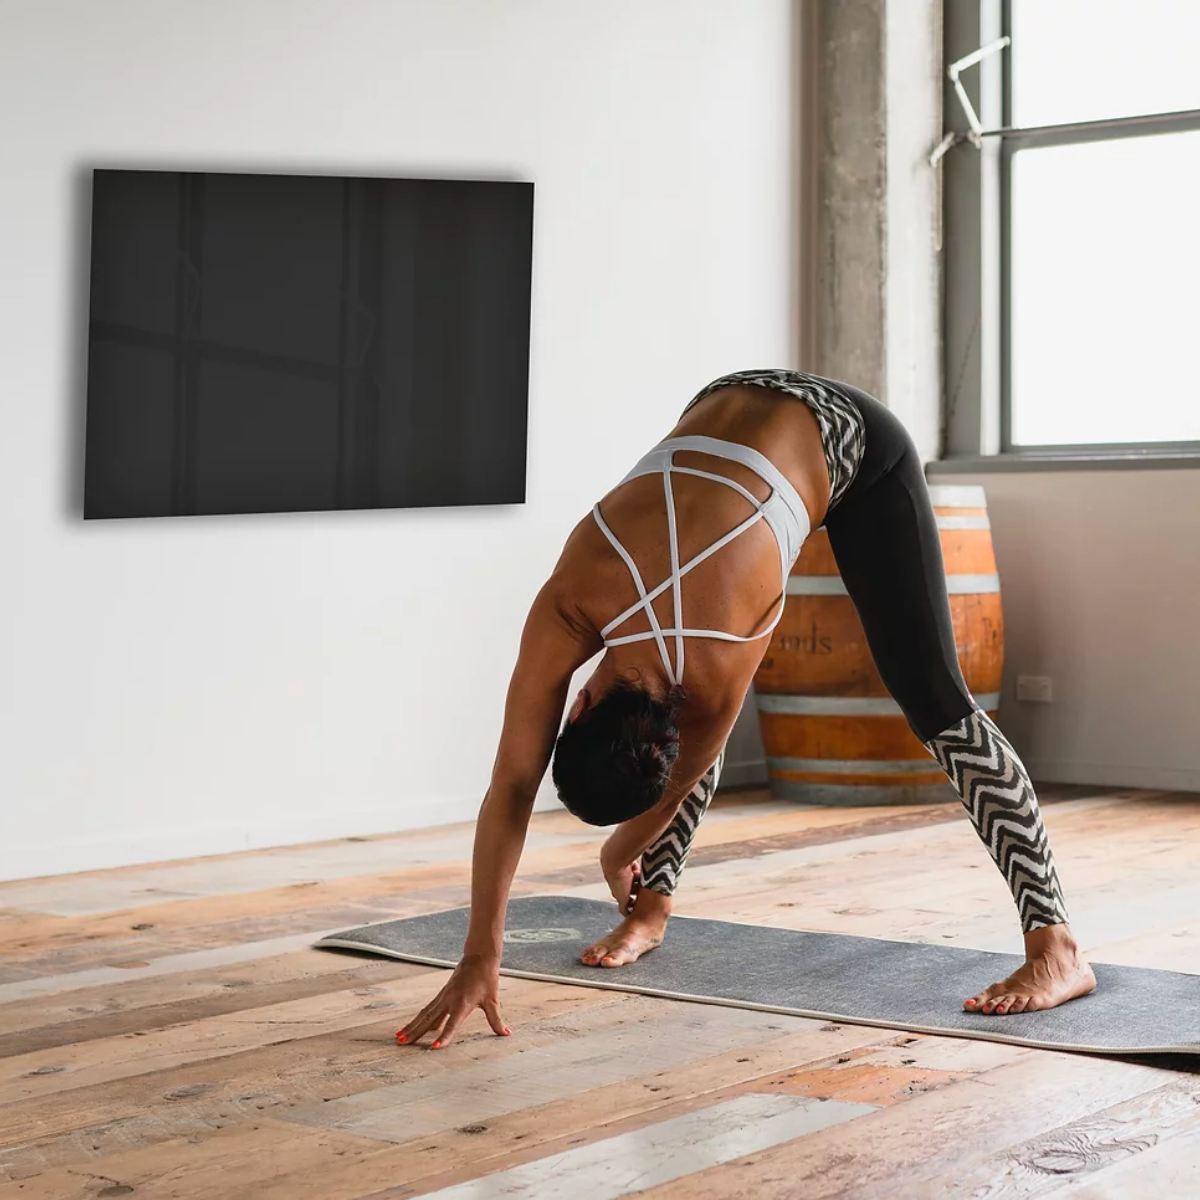
YOGA, PILATIES AND GYMS
Infrared is a perfect choice to heat your gym or studio. One of the best things about infrared panel heaters is its effectiveness in directly providing you warmth, unlike central heating systems which heats the air inside a room and the heat then rises and escapes. With this MAJOR advantage, infrared panels can save up to 60% on heating bills.
Infrared is a great choice if you are the proud owner of a gym, Pilates or yoga studio - lack use of convection and dust circulation promotes clean breathing and healthy metabolism.
FAQ
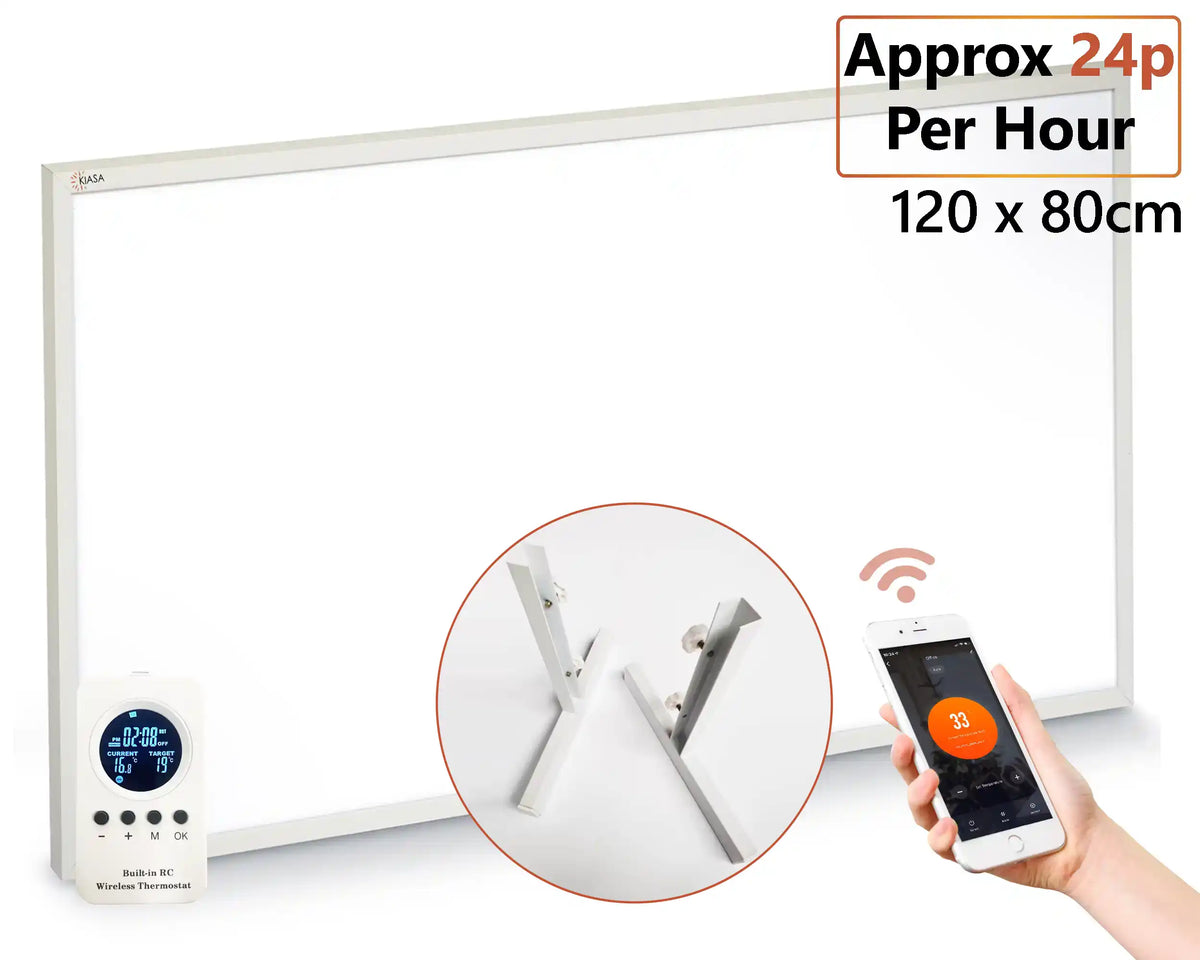
Classic+ Remote Control
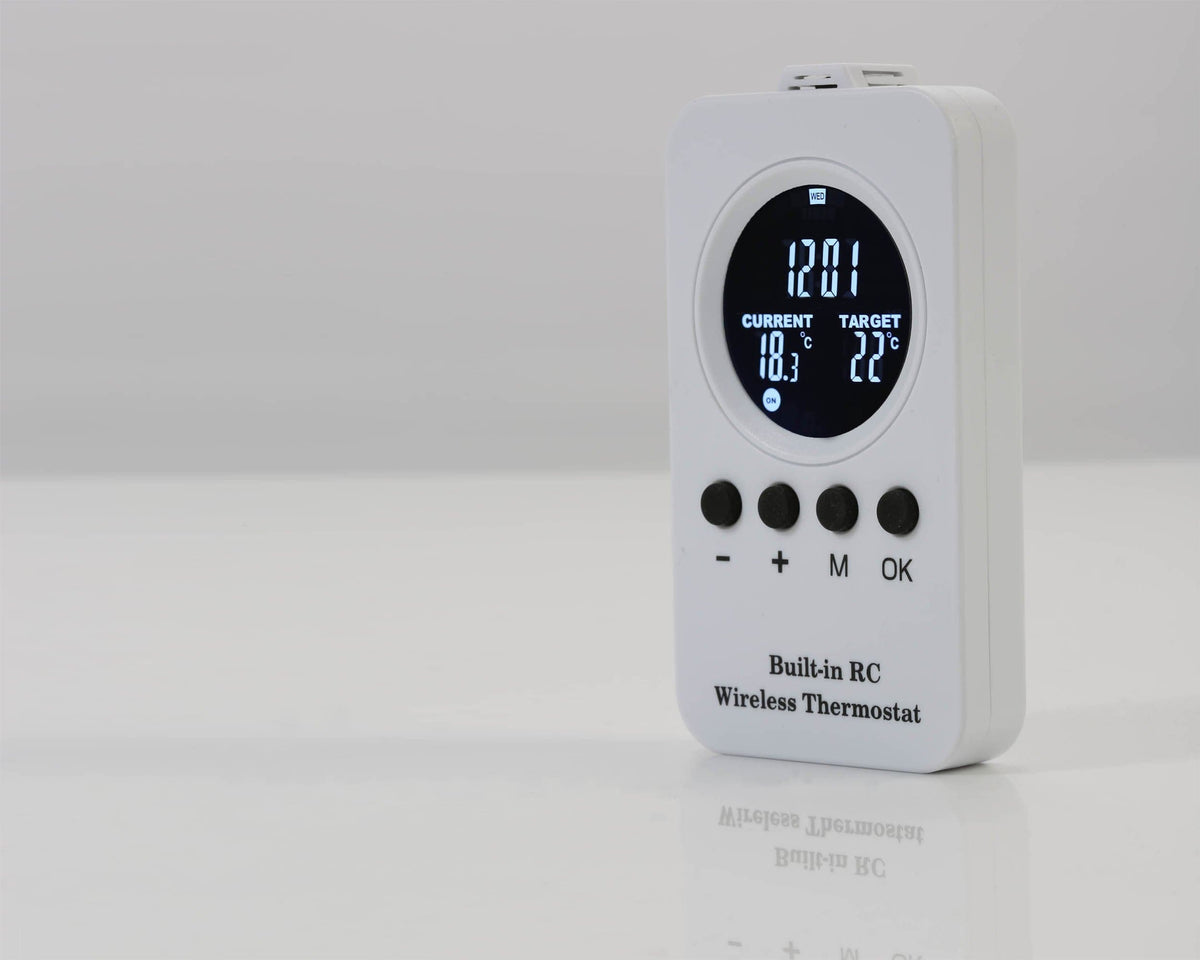
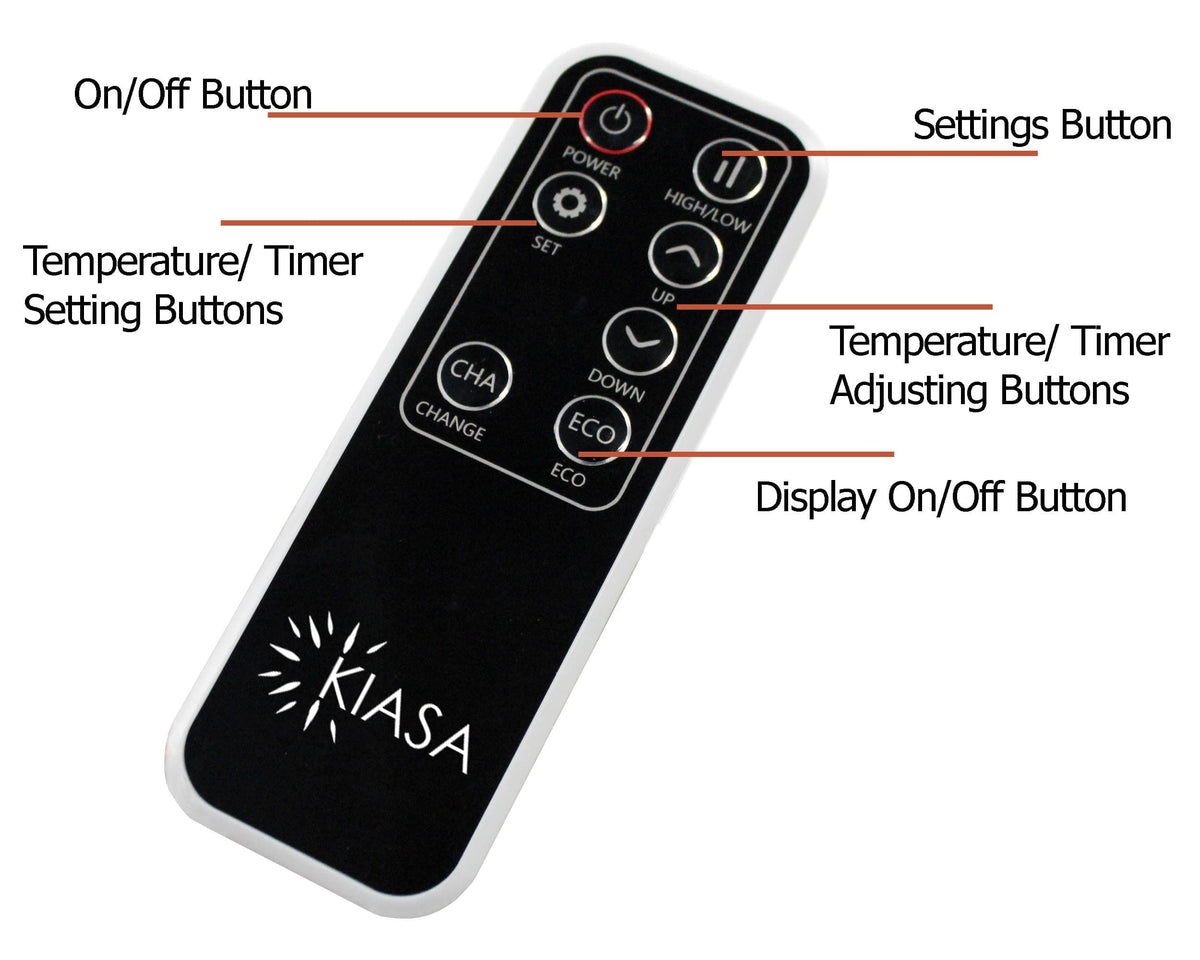
When pairing the remote to your Classic+ Infrared Panel, all you have to do is switch on the panel, hold down the + and – button down together until the ‘connect’ button has started to flash and you hear a ‘beep’ sound indicating that it is connected.
When the ‘connect’ sign on the remote has stopped flashing, this is your second indicator that a connection has been established. You are now ready to set up any mode you like.
After successfully pairing the remote to your panel, you can set up to 4 different modes using the remote.
Pressing down the M button you will be able to switch between the system time and the thermostat. When you have decided, press down and hold the M button.
When in thermostat mode the mode use the + and – buttons to decide if its mode 1, 2, 3 or 4 (the programme slots) you want to change. When you’re ready press ok.
The ‘target’ temperature should immediately start flashing. Using + or – set the desired temperature and then press ok.
Next it will ask you to set the days of the week using the + and - buttons. You have 4 options. You can set it on weekly, weekend only, daily or just for the just for weekdays. When you have decided press OK.
Next it will give you the option to set the ‘ST’ (start time) first and then, after you have pressed ok, the option for the ‘ET’ (end time) will come up. Press ok and you are good to go.
NOTE: When the screen has been left on idle for more than a few seconds, the screen will switch off to save power.
When you have set up your mode, you will know that it’s on when the ‘on’ button is on and the sign for the ‘heat’ mode is on.


